Identify the jobs
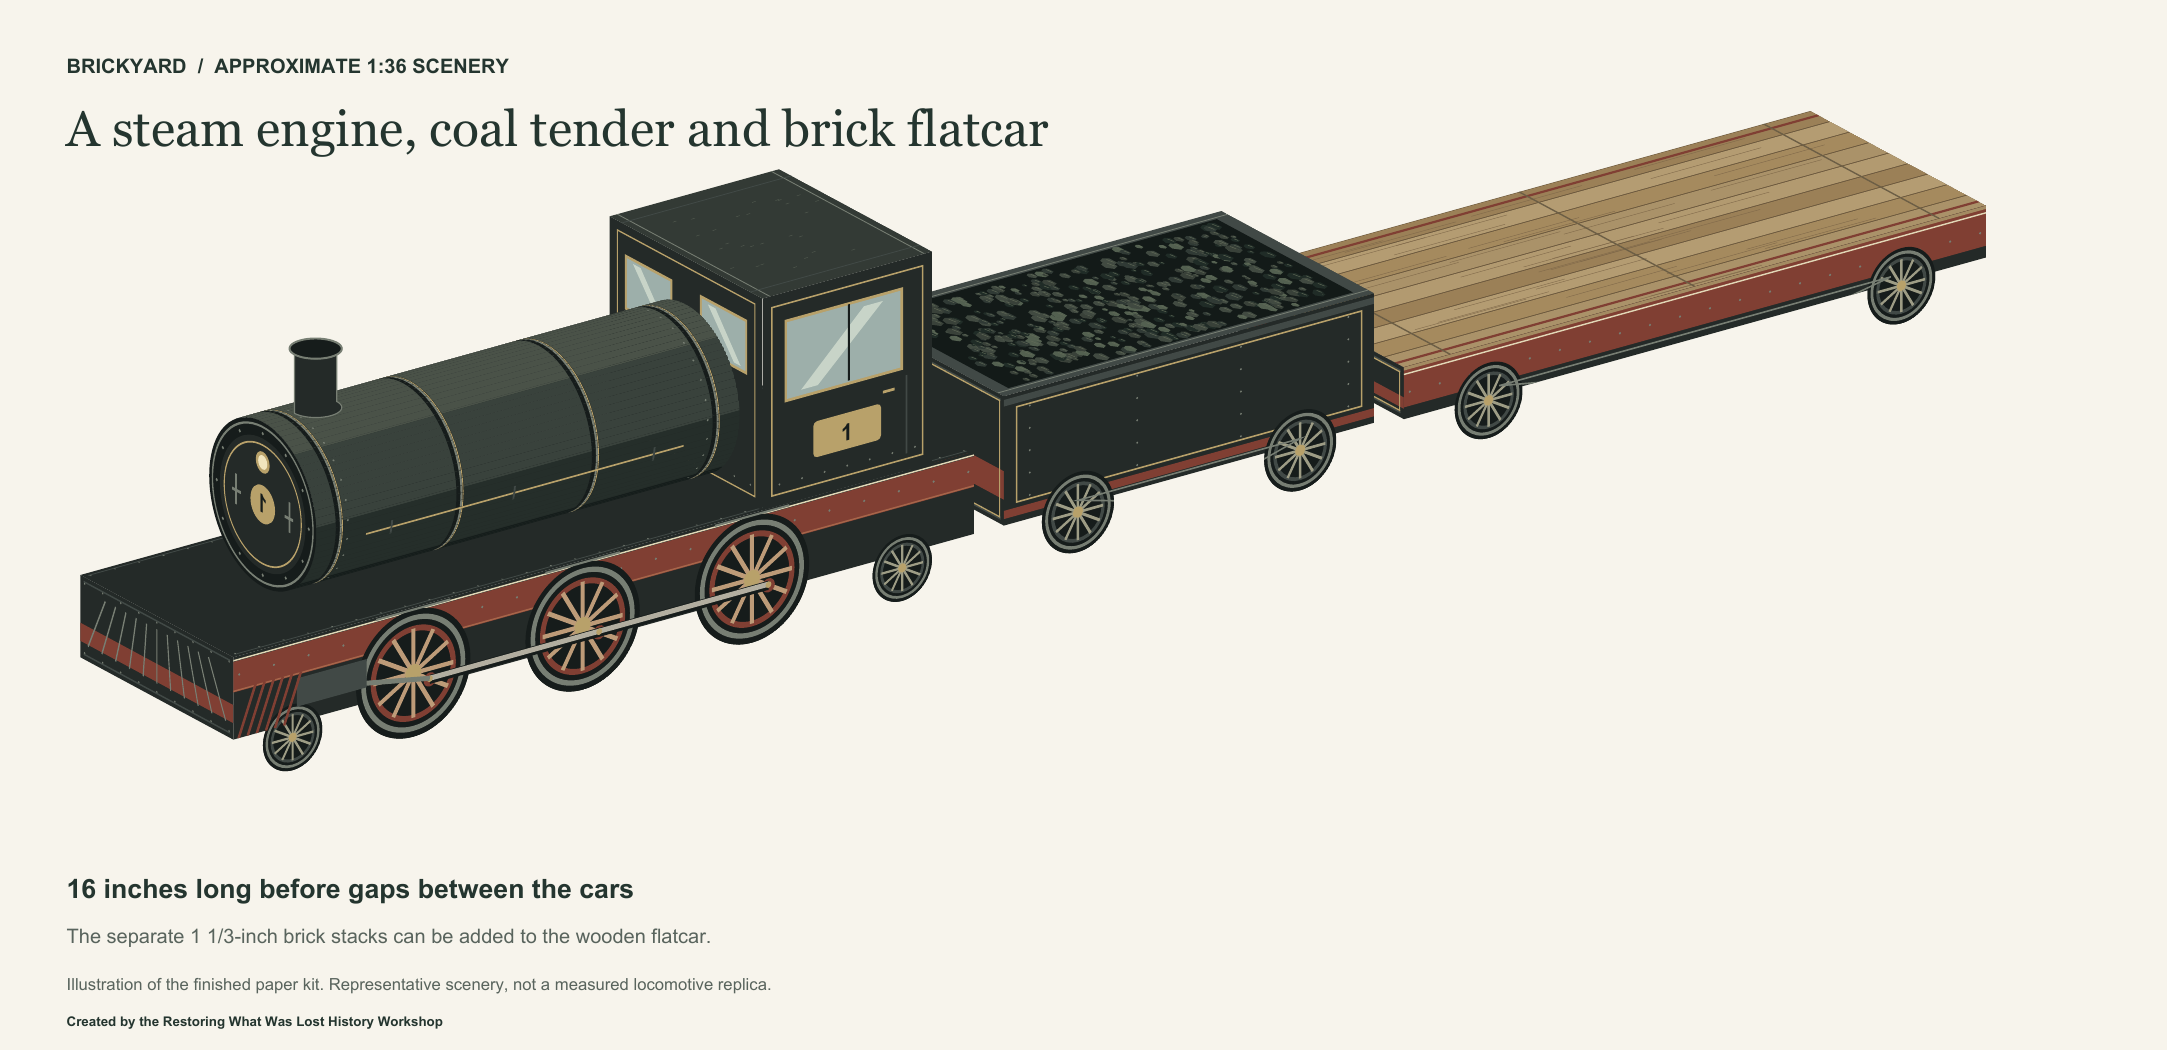
Label the locomotive, tender, and flatcar. Which provides movement, which carries supplies for the engine, and which carries freight?
Make an engine, a coal tender, and a flatcar, then decide how your miniature railway will carry its load.
Created by the Restoring What Was Lost History Workshop
Free educational use. Times are estimates; allow extra time for drying, practice, and younger builders.
Use these stages to plan your work alongside the instructions inside the model PDF.
Identify the engine deck, cab, boiler parts, tender, and flatcar. Check the printed inch guide at 100% before cutting. Some sheets are landscape and others are portrait.
Score and cut the complete shapes with their gray tabs. Fold the wheel sides and ends down from the deck. Make the cab box, glue it onto the marked CAB rectangle, and close its roof as the PDF shows.
Roll the boiler and glue its overlap seam inside. Add the front cap, fit the boiler to its marked supports, and attach its rear tabs at the cab. Roll and attach the chimney using its four small feet.
Fold their wheel sides and ends down from the coal top or wooden deck. Glue the end tabs behind the long walls. The PDF shows each separate shell and its corner tabs.
Let the three pieces dry, then place the engine, tender, and flatcar in order with small gaps. Use the separate brick-stack kit to explore a possible freight load.
Label the locomotive, tender, and flatcar. Which provides movement, which carries supplies for the engine, and which carries freight?
Use the museum explanation to trace how heat, water, steam, and movement are connected in a steam locomotive.
Choose a flatcar load and sketch a loading area. Explain why your chosen cargo fits that kind of car.
Spend 5 minutes noticing the model, 10 minutes exploring the historical context, 20 minutes on a first building stage or measurement activity, and 10 minutes sharing observations. Plan additional sessions for finishing longer builds. The teacher handout includes a lesson plan and learner pages.
A steam locomotive uses steam to produce movement. Its tender carries fuel and water; a flatcar carries freight. These paper pieces represent those different roles rather than a documented locomotive or train belonging to this brickyard.
Explore the industry the train could serveCreated by the Restoring What Was Lost History Workshop. You’re welcome to print copies for classrooms, family activities, and community displays.