Notice
Label the top, bottom, and four walls on a spare paper pattern. Which edges meet after folding?
Start with the simplest kit: four small stacks of bricks that connect folding, measurement, and the work of a brickyard.
Created by the Restoring What Was Lost History Workshop
Free educational use. Times are estimates; allow extra time for drying, practice, and younger builders.
Use these stages to plan your work alongside the instructions inside the model PDF.
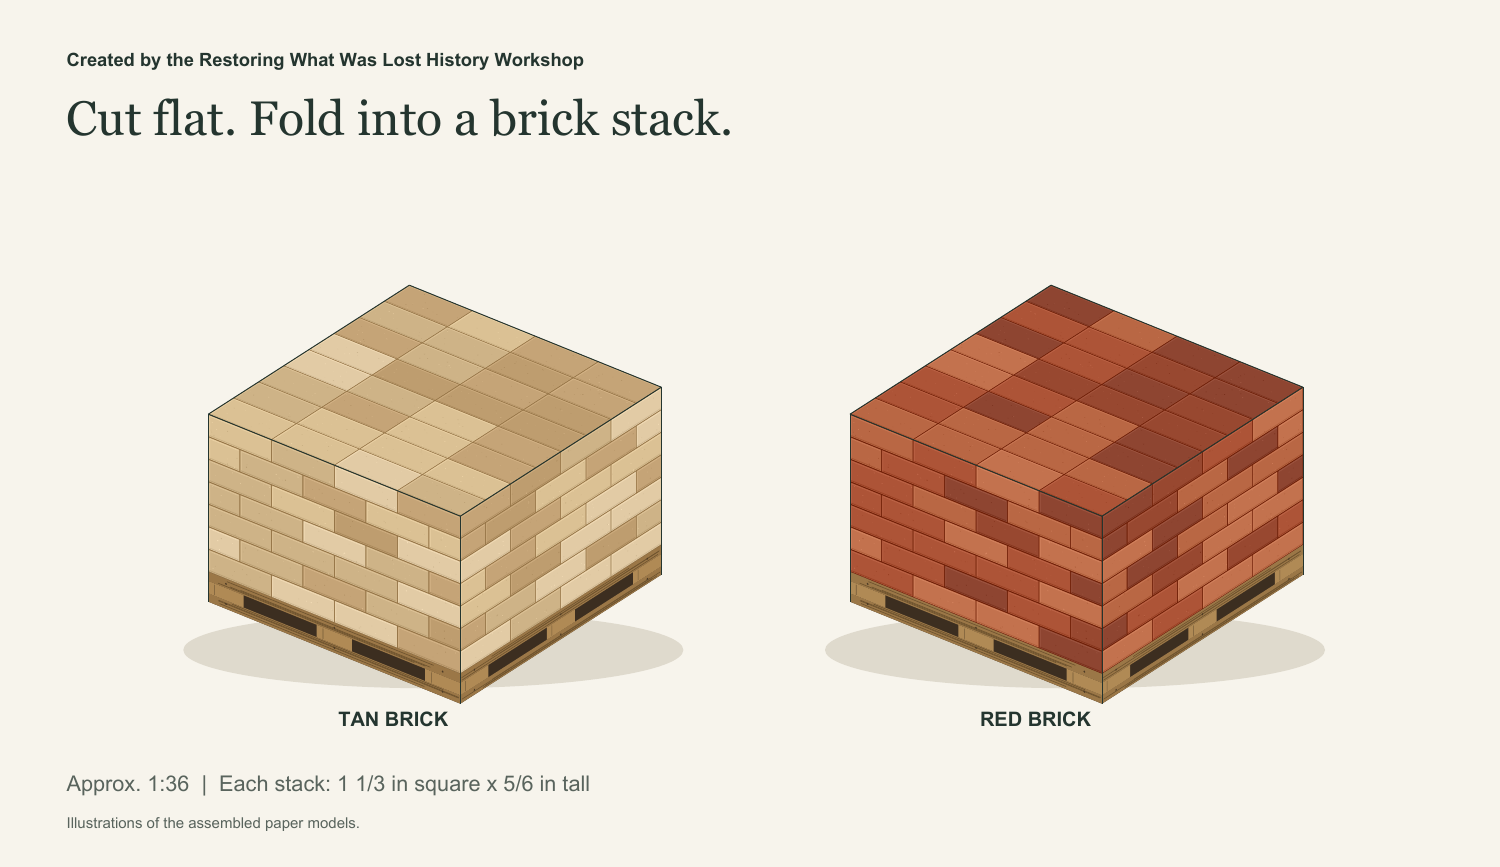
The two-page kit has two tan and two red stacks. Start with one. Score the blue dashed folds with a blunt tool before cutting the solid outer line, keeping every tab.
Lay the printed top face down and fold the four walls upward. Check the shape against the assembled illustration before using glue.
Glue each corner tab inside its neighboring wall. Hold the corners square while the glue starts to set.
Fold the bottom tabs inward and glue the panel marked UNDERSIDE closed last. Let the stack dry before placing it in the scene.
Label the top, bottom, and four walls on a spare paper pattern. Which edges meet after folding?
The stack is 1⅓ inches wide. At 1:36 scale, what real width does that represent? Compare your answer with a four-foot measuring tape.
Arrange the stacks so a truck can reach them. Explain where you left walking space and why your loading area belongs there.
Spend 5 minutes noticing the model, 10 minutes exploring the historical context, 20 minutes on a first building stage or measurement activity, and 10 minutes sharing observations. Plan additional sessions for finishing longer builds. The teacher handout includes a lesson plan and learner pages.
Firebrick is made for service at high temperatures. Preparing clay, shaping it, drying it, and firing it are useful starting points for understanding the industry. The colors and printed brick patterns in this kit are scenery choices, not a test of a real brick’s composition or performance.
Explore how firebrick is madeCreated by the Restoring What Was Lost History Workshop. You’re welcome to print copies for classrooms, family activities, and community displays.